
How to Clean a House Before Moving In: The Step-by-Step Move-In Checklist
Before the moving truck backs into the driveway, take advantage of empty rooms to disinfect cabinets, appliances, bathrooms, and floors like a Charleston cleaning technician.
Star Cleaning SC Editorial Team
Field-Tested Move-In Sanitization Standards • Charleston & Summerville, SC
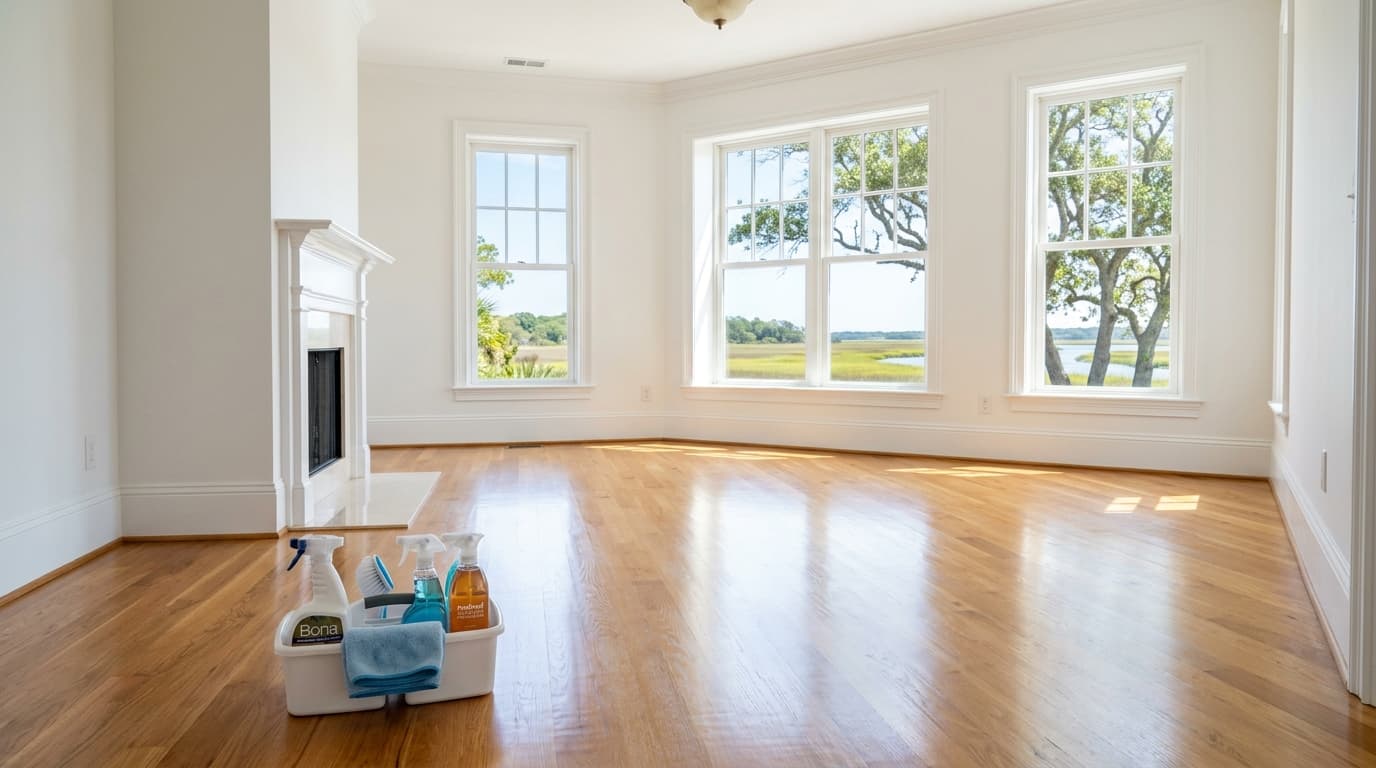
You finally got the keys to your new home. Closing is complete, the lease is signed, and you are standing in the center of an empty living room. Before you start unloading stacks of heavy cardboard boxes and making beds, pause for a moment: this is the single easiest window of time you will ever have to make this house truly spotless.
When a house is vacant, there are no heavy sectionals blocking the baseboards, no glassware in the kitchen cupboards, and no bath mats covering tile grout. But too often, excited homeowners rush their move-in only to discover later that the previous occupant left sticky syrup rings on pantry shelves, dried mineral crust on shower heads, and layers of pet dander inside bedroom air registers.
Whether you are moving into a historic downtown property in Charleston, a new construction home in Summerville, or a family neighborhood in Mount Pleasant, this wikiHow-style step-by-step tutorial walks you through the exact protocol used by professional move-in cleaning crews.
At a Glance: The Pro Move-In Cleaning Protocol
Core Strategy: Clean cabinets and appliances BEFORE boxes arrive, then work top-down to floors.
1The Move-In Supply Caddy (What You Need on Hand)
Do not pack your cleaning supplies deep inside a moving truck where you cannot find them. Keep a dedicated “First-Day Move-In Caddy” in the trunk of your car with these essential tools:
Solutions & Sanitizers
- Hospital-Grade Multi-Surface Disinfectant: Kills germs on door levers, switch plates, and counters.
- Food-Safe Degreasing Cleaner: Citrus-based cleaner for interior kitchen cabinets and pantry shelves.
- Bathroom Calcium & Descaling Spray: Breaks down mineral residue and soap scum from previous owners.
- New MERV 11 HVAC Filters: Mandatory replacement to purge construction dust and previous pet dander.
- Stainless Steel Finish Polish: Eliminates fingerprints and water spots on empty appliances.
Hardware & Equipment
- 15–20 Color-Coded Microfiber Towels: Dedicated towels prevent kitchen/bathroom cross-contamination.
- HEPA Canister Vacuum with Hose: Essential for vacuuming inside empty cabinet drawers and window tracks.
- 2-Step Sturdy Step Ladder: Reach top cabinet shelves, high closet ledges, and ceiling vents.
- Stiff Grout Brush & Detail Tool: Gets behind toilet hinges and under faucets.
- Flat Head Microfiber Mop: With extra machine-washable pads for hardwood and luxury vinyl plank.
2The 7-Step Chronological Move-In Cleaning Checklist
Follow these seven steps in exact sequence. Cleaning an empty home differs from routine cleaning: your highest priority is sanitizing enclosed storage spaces (cabinets and closets) before your personal belongings are unpacked into them.
Step 1: Sanitize High-Touch Entry Points & Door Hardware
Before doing anything else, sanitize every entrance door handle, deadbolt, doorbell button, and digital keypad lock. During the closing process, dozens of realtors, home inspectors, contractors, and staging movers touched these handles.
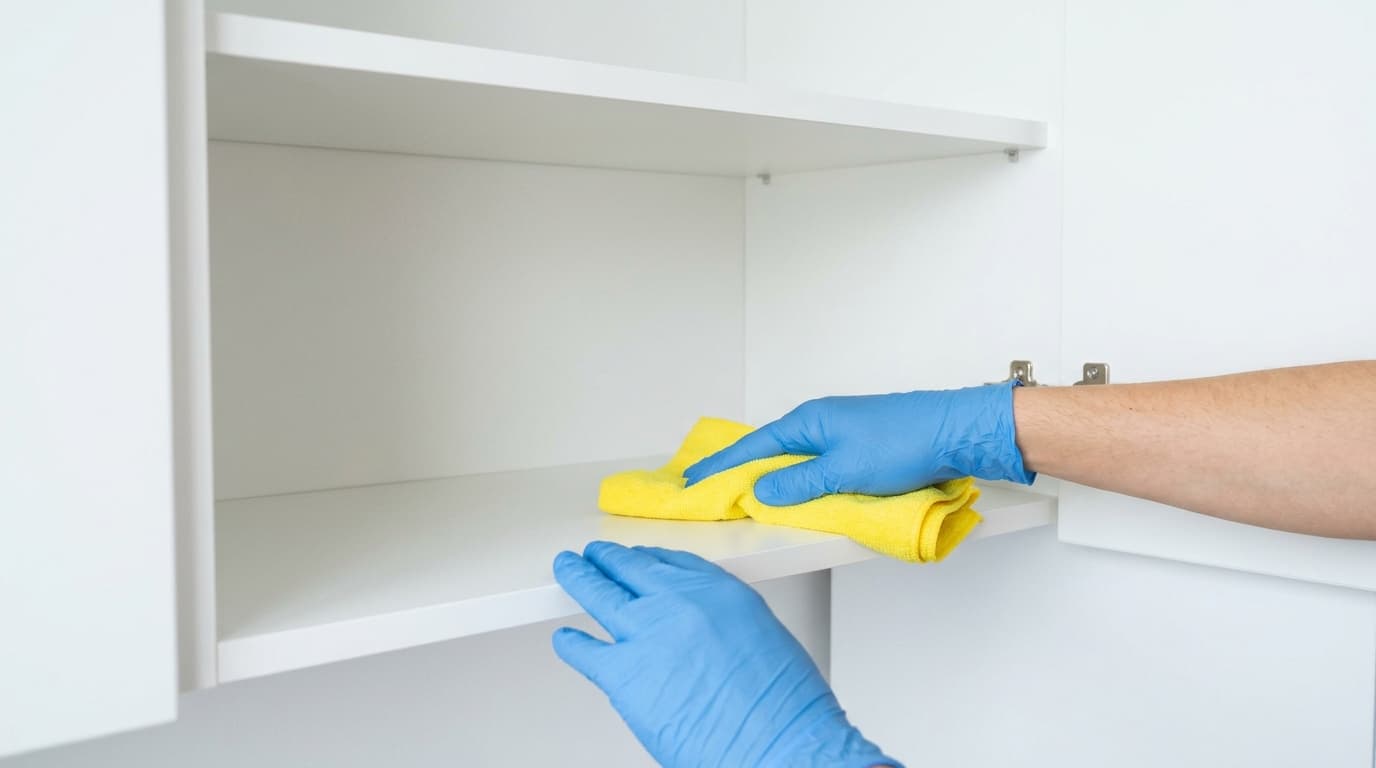
Step 2: Deep Scrub Inside & Outside Kitchen Cabinets & Drawers
This is the single most critical step in a move-in clean. Your family will eat off plates, drink from glasses, and prepare meals directly from these cabinets. You do not want residue from the previous owner's spices, pest droppings, or cooking grease touching your dinnerware.
Step 3: Detail Major Appliances (Inside Fridge, Oven & Dishwasher)
Even if appliances look clean from the outside, the interiors frequently harbor stubborn odors and baked-on grease.
- The Refrigerator: Pull out crisping drawers and door bins. Wash them in warm water with baking soda to neutralize lingering odors, then wipe interior walls before plugging back in.
- The Oven & Range: Apply non-toxic fume-free oven cleaner. Let it sit for 30 minutes to dissolve burnt crust on the bottom floor and side racks.
- The Dishwasher Filter: Twist out the cylindrical filter at the base of the dishwasher basin. Rinse away trapped food seeds and calcium gunk under hot running water so your first load of dishes cleans properly.
- Range Hood Filter: Soak metal mesh filters in hot water with baking soda and Dawn dish soap to dissolve old cooking oil.
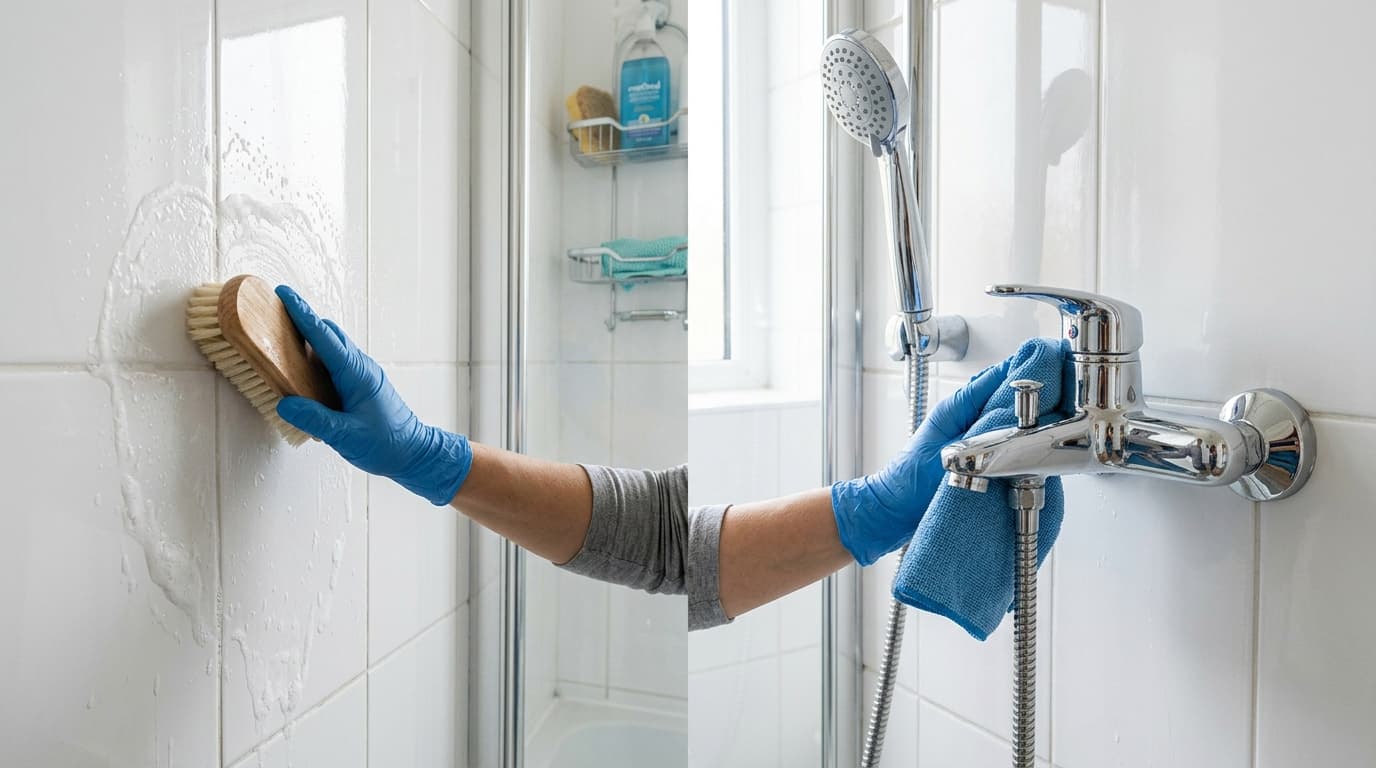
Step 4: Disinfect and Descale Bathrooms Top-to-Bottom
Bathrooms require aggressive sanitization. In the Lowcountry's humid environment, shower tile grout and silicone caulk joints readily harbor mildew spores and calcium crust.
Step 5: Hand-Wipe Baseboards, Window Sills, Trim & Doors
Take advantage of empty walls! Once heavy dressers and couches are placed against walls, you will likely never touch these baseboards again for years.
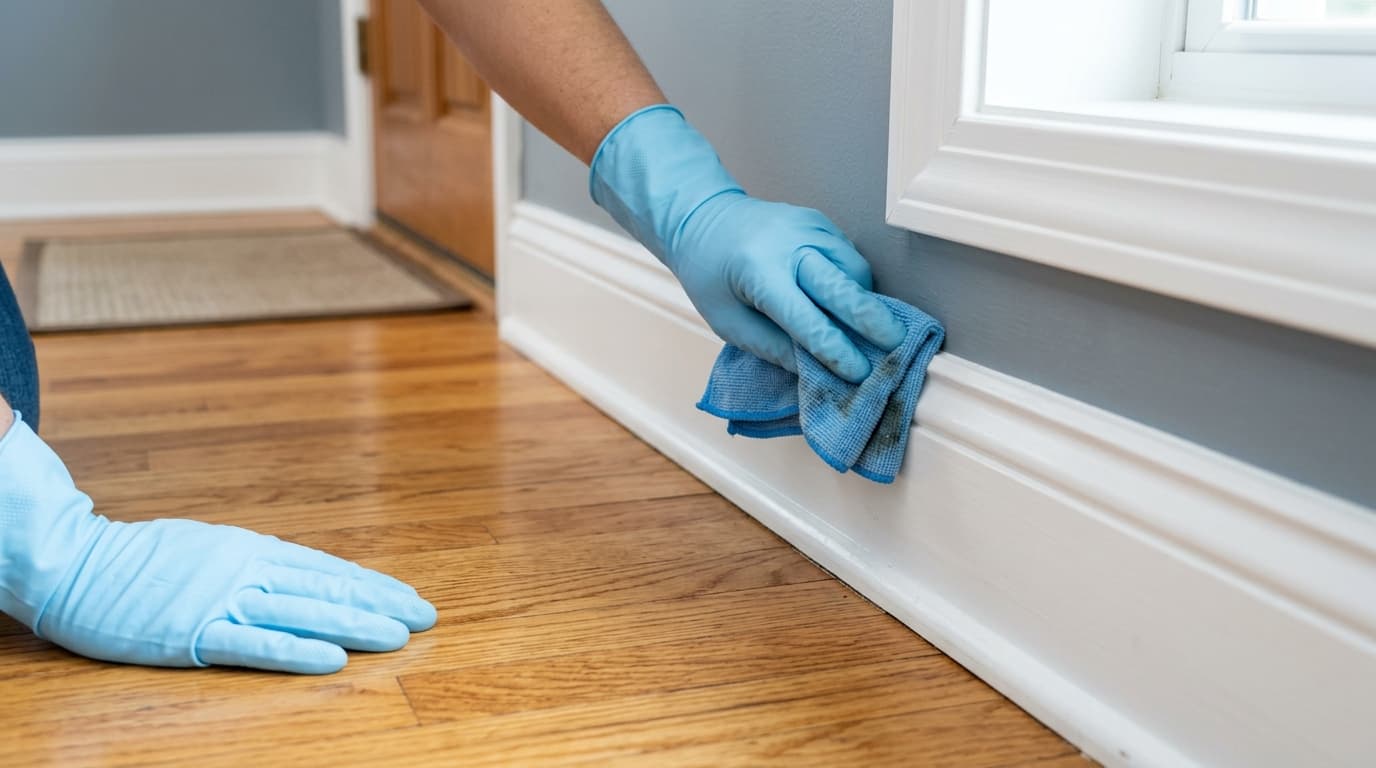
Work clockwise through each room. Dip a plush microfiber towel into a bucket of warm water with a few drops of dish soap (wring until barely damp). Hand-wipe along the top ridge of every baseboard, door molding, window sill, and closet shelf. Hand-wiping eliminates dry-dust streaks and leaves trim glistening.
Step 6: Purge Air Vents & Replace HVAC Return Air Filters
One of the most overlooked move-in steps is indoor air quality. Moving generates massive clouds of airborne particulate. Additionally, the previous homeowner's pets (cats, dogs) shed dander that recirculates through the central AC.
Step 7: HEPA Edge Vacuum & Mop Floors (Backing Out to the Exit)
Now that all high dust has fallen and all cabinets and baseboards are clean, finish with the floors.
- Vacuum Perimeter Edges: Run the crevice tool along the perimeter where carpet or wood meets the wall. This pulls out trapped sand common to coastal SC.
- Damp Microfiber Mop: Mop hardwood, tile, and LVP starting at the far corner of each bedroom and backing out toward the hallway. Change mop pads frequently so you aren't spreading grey slurry.
Printable Move-In Deep Cleaning Checklist
Check off each item room-by-room as you prepare your new home:
🍽️ Kitchen & Pantry
- • Vacuum crumbs inside all cabinets
- • Hand-wipe all cabinet shelves
- • Sanitize drawer pulls & hardware
- • Soak and clean refrigerator bins
- • Degrease interior oven & racks
- • Clean dishwasher filter & seal
- • Sanitize sink basin & faucet
🚿 Bathrooms
- • Descale shower tiles & grout lines
- • Polish shower glass squeak-clean
- • Sanitize toilet bowl, tank & base
- • Wipe vanity drawers inside & out
- • Disinfect countertops & sinks
- • Clean bathroom exhaust fan grille
- • Streak-free mirror polishing
🏡 Whole House & Bedrooms
- • Disinfect front & back entry locks
- • Dust ceiling fan blades both sides
- • Vacuum AC return air intake vents
- • Replace HVAC central air filter
- • Hand-wipe all baseboards & doors
- • Clean window sills & latch locks
- • Edge vacuum & deep mop floors
4 Common Move-In Cleaning Mistakes That Waste Hours
Mistake 1: Unloading moving boxes before cleaning cabinet interiors
Once your dishes and cereal boxes are stacked on uncleaned shelves, you will never go back and wipe them down. Always clean the storage spaces first.
Mistake 2: Assuming a seller's “broom clean” is a sanitizing clean
Real estate contracts only require sweeping loose debris into a dustpan. Sellers rarely scrub oven crust, sanitize toilets, or wash out sticky pantry drawers.
Mistake 3: Mopping floors before hand-wiping baseboards
Damp cloths on dusty baseboards drip grey dirty water down onto the floor. If you mop first, you will have to mop a second time.
Mistake 4: Forgetting to change the HVAC air filter immediately
The central AC will blow the previous owner's accumulated dust mites and pet allergens directly into your freshly cleaned bedrooms. Replace it on day one.
Preparing your old home for final inspection? Check out our complete pricing guide on How Much Move-Out Cleaning Costs in Summerville, SC. Or learn the step-by-step method for maintaining your home year-round in our How to Deep Clean Your House Step-by-Step Guide.
Frequently Asked Questions
Should you clean a house before moving in even if the seller cleaned?
Yes, without hesitation. Most sellers only perform a superficial surface sweep. A true move-in clean sterilizes food prep areas, sanitizes toilets and shower grout, degreases appliance interiors, and removes pet dander and allergens that previous residents left behind.
How long does an empty house move-in clean take?
A solo homeowner typically requires 6 to 10 hours of focused physical labor for a 2,000–2,500 sq ft home. A commercial two-person maid team equipped with specialized tools and commercial vacuums accomplishes the same detailed scope in roughly 3 to 4 hours.
Why is it essential to replace the HVAC filter on move-in day in Charleston?
Charleston's humidity traps pollen and dust in AC coils. If the prior owners had pets or completed renovation work before sale, the return filter is often saturated with fine drywall dust and dander. A fresh MERV 11 filter protects your respiratory health immediately.
How much does professional move-in deep cleaning cost in Summerville & Charleston?
Depending on home size and whether interior appliances (refrigerator and oven) are requested, professional move-in cleaning in Summerville and Charleston typically runs between $320 and $650. It pays for itself in peace of mind and hours saved on moving day.
Want to Walk into a Spotless New Home?
Let Star Cleaning SC handle the scrubbing, degreasing, and sanitizing before your moving trucks arrive. Our background-checked, insured team makes your new home feel brand new.