How to Clean a House After Remodeling: The Step-by-Step Post-Construction Checklist
Contractors finished the build, but fine white drywall dust coats every surface. Here is how professional Lowcountry cleaning crews conquer post-renovation dust without burning out vacuum motors or scratching brand-new finishes.
Star Cleaning SC Editorial Team
Post-Construction & Remodel Specialists • Charleston & Summerville, SC
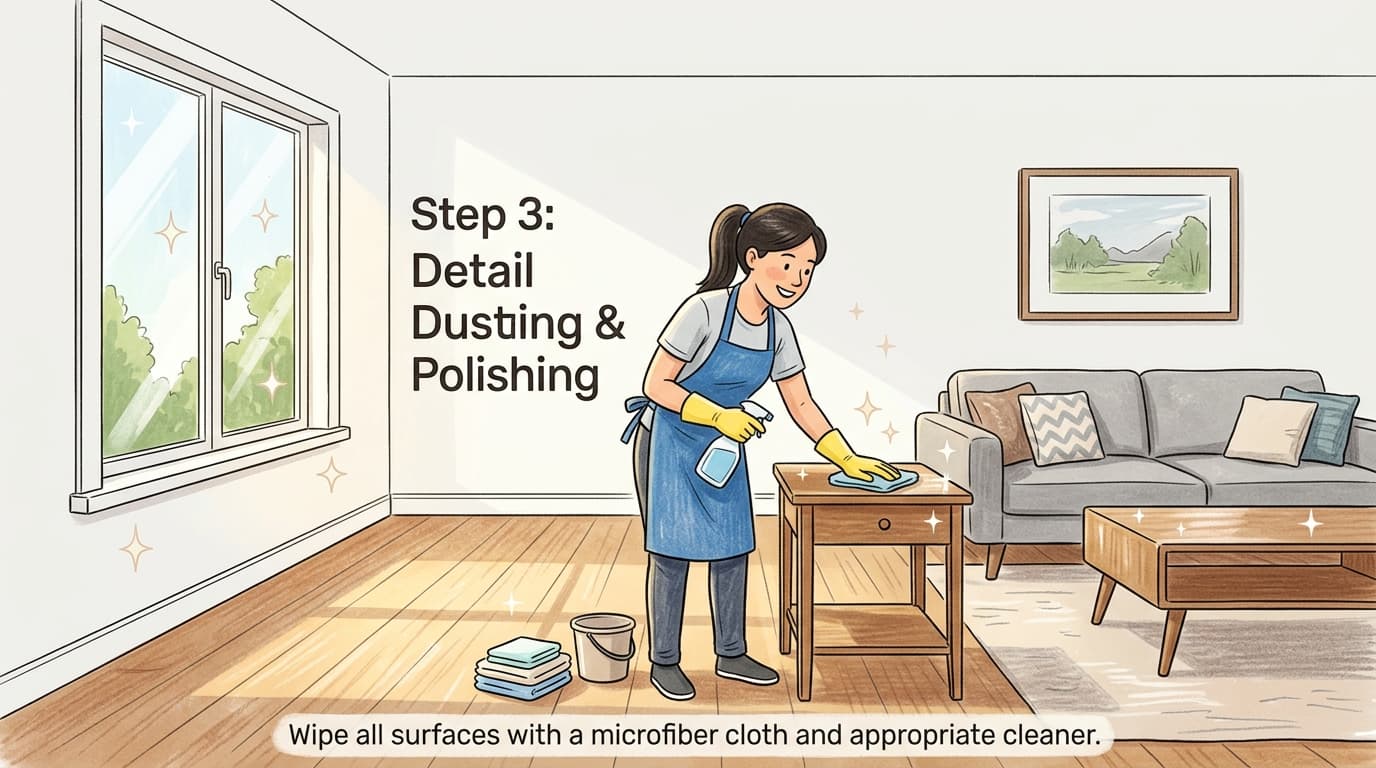
You survived weeks of hammer blows, contractor trucks parked on your grass, and loud power saws. The kitchen remodel or whole-house expansion in Summerville or Mount Pleasant is finally complete. But as soon as the builders pack up their ladders and hand over the keys, a daunting reality sinks in: a ghostly white haze of microscopic drywall dust covers every ceiling fan, baseboard, and window ledge.
If your instinct is to grab a damp mop or a standard upright home vacuum, stop immediately. Drywall dust is unlike normal household dirt. It is composed of micro-fine gypsum, silica, and talc. Using water too early turns it into a sticky paste that dries back into a stubborn chalky film. And running an ordinary home vacuum will clog the filters within three minutes, forcing superheated gypsum dust directly into the vacuum motor and burning it out.
Whether you recently finished a historic Charleston single-home renovation in Downtown Charleston or moved into a brand-new master-planned build in Daniel Island, this wikiHow-style guide outlines the exact, methodical protocol professional post-construction cleaning crews use to restore clean air and pristine surfaces.
At a Glance: The Post-Construction Protocol
Golden Rule: Dry capture first, top-to-bottom sequencing, dual-bucket neutral floor mopping.
1The Post-Remodel Cleaning Toolkit (Do Not Start Without These)
Ordinary cleaning tools will fail during a post-construction clean. Gather these specialized supplies before touching a single room:
Protection & Dry Capture Tools
- N95 / P100 Particulate Respirators: Airborne gypsum and crystalline silica can severely irritate lungs and eyes. Always wear a snug mask.
- HEPA-Sealed Vacuum with Dust Bags: Ensure your shop or canister vacuum has an authentic HEPA cartridge filter and disposable collection bag.
- Rubber Dry-Chemical Soot Sponge: Used by restoration pros, these porous vulcanized rubber sponges lift dry sheetrock dust without water.
- Horsehair Vacuum Brushes: Soft natural bristles prevent fine drywall grit from acting like sandpaper against finished woods.
Solutions & Detailing Supplies
- 25+ Electrostatic Microfiber Cloths: Static-charged split fibers attract and lock microscopic dust instead of pushing it around.
- Neutral pH Cleaner (pH 7.0): Prevents the cloudy white haze that alkaline or acidic cleaners cause on fresh grout and polyurethane floors.
- Plastic Razor Scrapers & Citrus Solvent: Safely removes dried contractor caulk, painter's tape adhesive, and stickers from glass without scratching.
- Fresh MERV 11 HVAC Filters: Mandatory replacement for every return air grille in the house once cleaning is complete.
2The 7-Step Post-Construction Cleaning Checklist
Execute these seven steps in strict chronological order. Skipping steps or wiping floors too soon will force you to redo the entire house from scratch.
Step 1: Wait 24–48 Hours for Dust to Settle & Isolate Clean Rooms
The biggest mistake homeowners make is cleaning the afternoon the carpenters leave. Microscopic particles of sheetrock dust and pulverized saw timber remain buoyant in the air for up to 36 hours. If you wipe surfaces immediately, floating dust will simply land back down overnight.
Step 2: Collect Contractor Trash, Peel Blue Film & Strip Tape
Walk through the house with heavy contractor bags. Pick up scrap wood, discarded drywall shims, screw boxes, and protective cardboard runner paper.
• Peel at a 45-degree angle: Slowly pull plastic adhesive carpet films and blue painter's tape away from trim. Never yank tape abruptly, or you will launch clouds of trapped white dust into the ambient air.
• Check appliance protective films: Remove clear vinyl film from stainless steel appliances, range hoods, and vanity mirrors. If adhesive residue remains, soften it with a drop of citrus cleaner rather than scratching with metal blades.
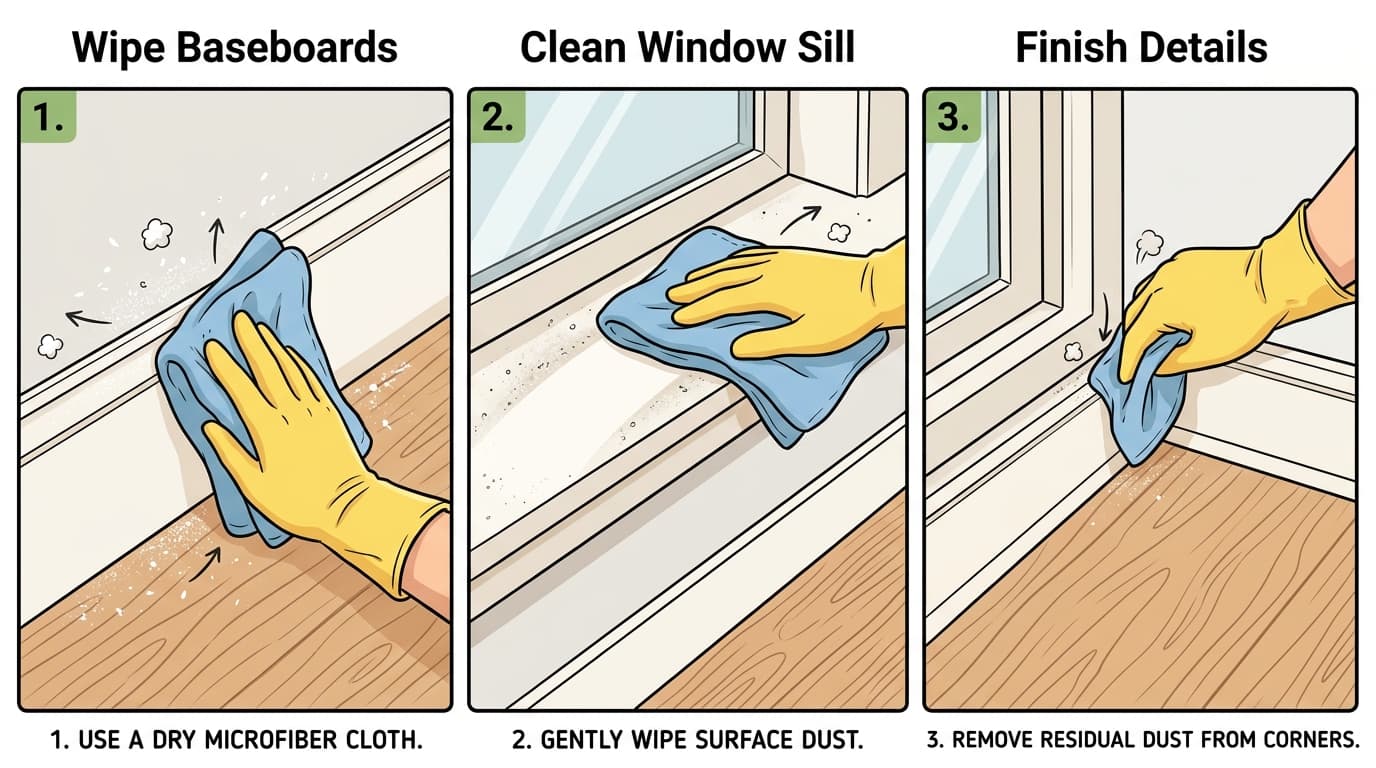
Step 3: Dry Dust High-to-Low (Ceilings, Fans, Walls & Baseboards)
Remember: Never use a wet rag on heavy sheetrock dust! Water turns dry gypsum into plaster slurry that smears into paint pores. Always remove 95% of dust completely dry first.
Step 4: Vacuum Return Vents & Replace HVAC Air Filters
Construction dust destroys HVAC efficiency faster than anything else in a Lowcountry home. When the central air turns on, dust in the ductwork circulates endlessly through bedrooms.
- Remove Vent Grilles: Unscrew metal return grilles and ceiling registers. Wash them in warm soapy water to dissolve baked-on gypsum paste.
- Reach Inside Ducts: Insert the vacuum hose with a soft brush attachment as far as possible into duct openings to suck out collected sawdust and drywall fragments.
- Install Fresh MERV 11 Filter: Immediately discard the filter used during the remodel and replace it with a new high-efficiency filter to protect evaporator coils.
Step 5: Vacuum & Hand-Wipe Cabinets, Drawers & Shelving
Even if cabinet doors were closed during construction, fine dust seeps into drawer slides and cabinet interiors through small gaps around hinges.
Step 6: Detail Window Tracks, Sills & Remove Paint Overspray
Window sills and tracks collect both exterior masonry grit and interior overspray. Window glass often features paint specks and manufacturer stickers.
- Vacuum Window Tracks First: Loosen hard sand with a stiff nylon detailing brush while holding the vacuum hose right next to it.
- Remove Paint Specks from Glass: Spray soapy water generously onto the glass, then glide a plastic razor blade at a flat 30-degree angle. Never scrape dry glass or use metal razor blades on tempered or low-E glass!
- Wipe Sills with Neutral Cleaner: Wipe down painted wooden sills and polish window latch locks.
Step 7: HEPA Edge Vacuum & Dual-Bucket Neutral Floor Mopping
This final step solves the infamous “white haze” problem. You must follow this professional floor routine:
Printable Post-Construction Cleaning Checklist
Check off each zone room-by-room as you bring your newly remodeled space to showroom finish:
🔨 Rough Phase
- • Remove contractor trash & wood scraps
- • Peel floor protection films slowly
- • Strip blue tape off baseboards
- • Remove stickers from appliances
- • Let ambient air settle 24–48 hours
- • Seal off non-construction zones
✨ Detail Dusting Phase
- • Vacuum ceiling can lights & fixtures
- • Wipe ceiling fan blades (both sides)
- • Dry-sponge sheetrock walls & molding
- • Clean HVAC register grates & replace filter
- • Vacuum inside all cabinet drawers
- • Wipe cabinet interiors & drawer slides
- • Detail window sills & latch hardware
🧼 Final Polish Phase
- • Scrape paint specks from window glass
- • Polish bathroom tile & remove grout haze
- • Clean plumbing fixtures & polish chrome
- • Detail vacuum along baseboard perimeters
- • Two-bucket damp mop all hard floors
- • Dry-buff hardwood to prevent white haze
- • Sanitize interior doorknobs & switches
4 Common Mistakes That Ruin Newly Renovated Homes
Mistake 1: Using a standard bagless household vacuum
Fine drywall gypsum particles slip straight through foam filters and coat the electric motor, causing friction sparks, smoke, and burnt motor bearings within minutes.
Mistake 2: Wet wiping heavy drywall dust on painted walls
Water reconstitutes drywall compound into a paste that smears deeply into drywall textures and matte paint, leaving discolored streaks that require repainting.
Mistake 3: Mopping with acidic vinegar solutions on fresh grout
Many online blogs recommend vinegar for cleaning, but acetic acid eats away at newly cured cement grout and dulls high-end marble or quartz countertops. Always use pH-neutral cleaner.
Mistake 4: Running the AC during demolition and drywall sanding
Turning on your HVAC pulls millions of microscopic silica particles through your return vents. In coastal SC, humidity turns that dust into thick mud across air conditioning coils, causing thousands in repairs.
Moving into a freshly remodeled home? Combine this guide with our How to Clean a House Before Moving In Checklist. Or see our detailed pricing breakdown for departures in How Much Move-Out Cleaning Costs in Summerville, SC. For everyday maintenance, review our Step-by-Step Deep Cleaning Guide.
Frequently Asked Questions
Why does a standard household vacuum burn out when vacuuming drywall dust?
Sheetrock and joint compound dust particles measure between 0.5 and 10 microns in size. Standard cyclone vacuums and foam filters cannot stop particles that small; they pass through the cyclone into the vacuum motor compartment, coating the copper armatures and causing catastrophic thermal failure. You need a dedicated HEPA-sealed vacuum or heavy-duty shop vacuum with a certified drywall collection bag.
Why does white chalky haze keep reappearing on wood or tile floors?
When you mop with a single water bucket, the water rapidly becomes an emulsion of dissolved gypsum. Spreading that water across the floor lays down a microscopic layer of liquid gypsum that turns into a white chalky film as soon as the water evaporates. Using a dual-bucket setup (wash bucket and rinse bucket) alongside a neutral pH cleaner and dry-microfiber towel buff prevents this completely.
How long should you wait to clean after contractors finish work?
We recommend waiting 24 to 48 hours following the final sanding or punch-list work. This allows suspended airborne dust to settle to the ground. If you clean while dust is still hanging in the air, you will have to repeat the entire process 24 hours later.
How much does professional post-construction cleaning cost in Charleston & Summerville?
In Charleston, Summerville, and Mount Pleasant, professional post-construction cleaning typically ranges from $0.25 to $0.45 per square foot. For an average 2,200 sq ft home, comprehensive post-remodel cleaning costs between $500 and $850, which includes HEPA filtration vacuuming, inside/outside cabinet detailing, window track cleaning, fixture polishing, and multi-pass floor restoration.
Get Rid of Drywall Dust in Just One Visit
Star Cleaning SC provides specialized post-construction and post-remodel deep cleaning throughout Charleston, Summerville, and the Lowcountry. Commercial HEPA equipment, non-toxic solutions, and 100% satisfaction guaranteed.